
Cloning sounds scientific and inaccessible. To an extent, it is, even when the word refers to cannabis cultivation and not the thing scientists occasionally do to sheep. But there are reasons most large-scale cannabis producers rely heavily on cloned plants for their production.
Predictability. Quality. Speed of production. Profit. It’s a method of growing that works, both for cannabis and other forms of commercial plant production. It also doesn’t have to be inaccessible. In this article, we look at what cloning is and how it can be done at the beginner level.
Marijuana Clones: What are they?
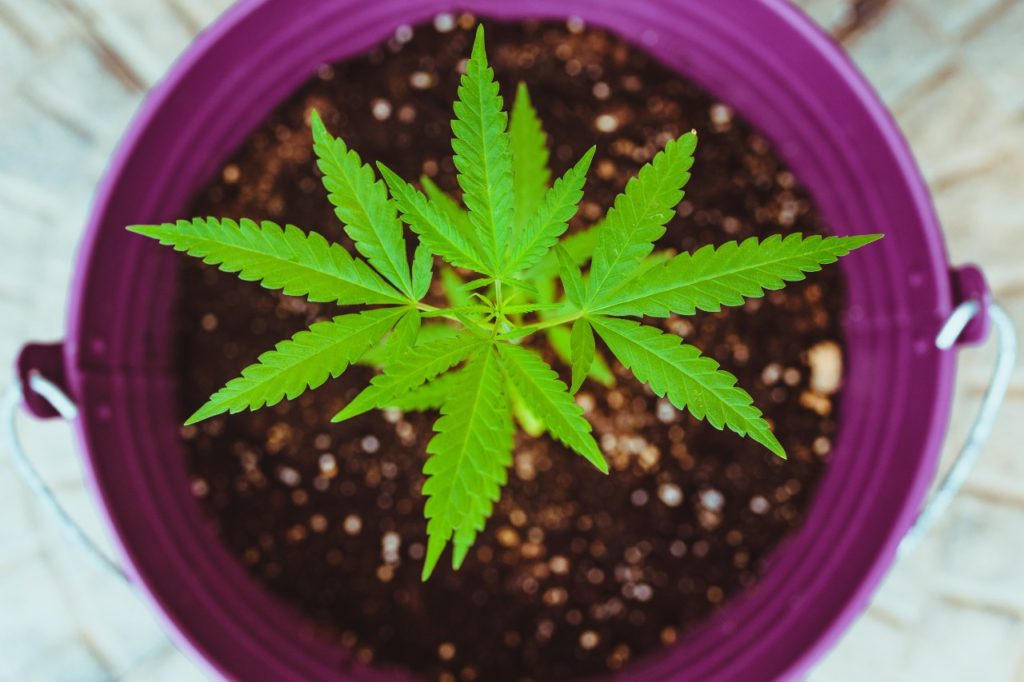
A cannabis clone is a specimen that is genetically identical to the mother plant. The process is usually done in large cannabis cultivation efforts. The motivation is simple: when cannabis producers have a dependable mother plant, they want to be able to cultivate it quickly, and predictably over multiple generations.
Cloning allows for this by creating conditions that are as consistent as possible even over long periods.
Cloning differs from regular plant reproduction in that seeds have their own unique genetic code. Most home growers reach for seeds because they are more accessible, while industrial-sized operations are more dependent on clones for their speed and predictability.
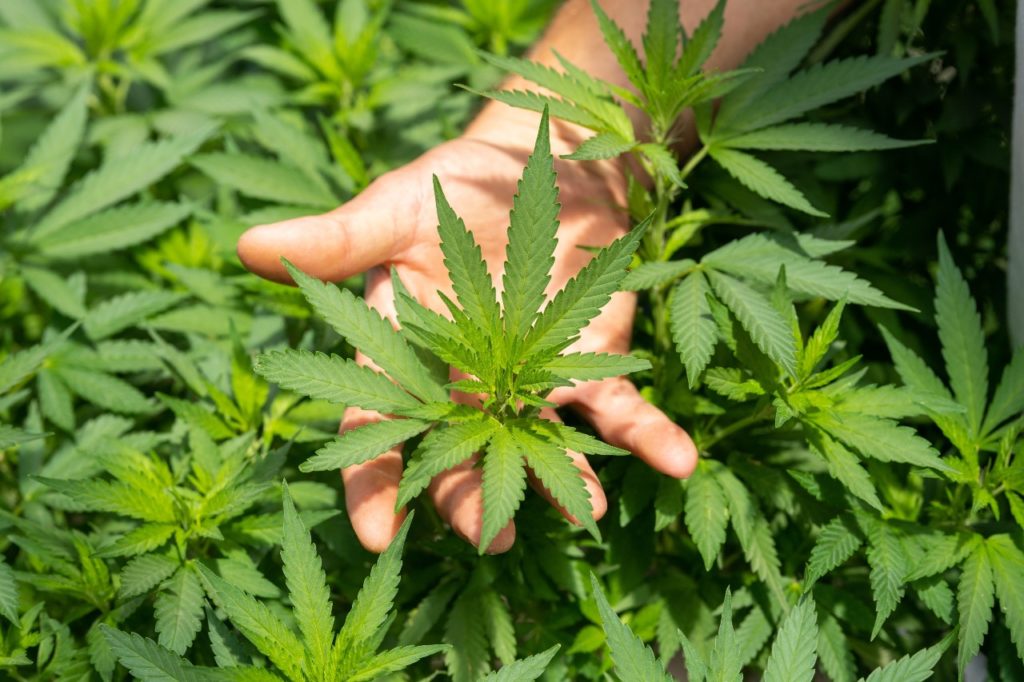
Marijuana Mother Plants
Marijuana cloning materials are harvested from the mother plant—the prime producer in the cannabis cultivation lineup. The idea is to find a healthy plant, with good genetic materials that you want to be replicated, generation after generation.
To be successful in your cloning efforts, it’s important to set up the mother plant correctly, and start at the right time.
Marijuana mother plant setup
The idea is to have a healthy, well-groomed mother plant. Remember that the job of a mother plant is to produce branches that can be removed and cloned later on. Before you are ready to do that, make sure the plant is regularly pruned, well-watered, and receiving lots of light.
Your setup should be geared towards bringing out the very best in your plant’s genetics so that there will be good stuff to pass on to the “next” generation of plants.
How old should a mother plant be before cloning?
The general range for when you should start cloning is between 4-8 weeks in. At this point, the plant has reached its vegetative stage. Most of its energy is going into producing leaves and branches that will make for good cloning materials.
During this stage, the more you clip and clone, the harder the plant will work to produce more branches and leaves, creating a mutually beneficial scenario for you and the mother plant itself.
Cloning can still be done after the eight weeks have elapsed, depending on the plant. It should not be done before four weeks, as this can stifle the plant’s ability to grow healthy.
Cannabis Cloning Supplies
Cannabis cloning does require tools. To get the job done you will need:
Scissors: Scissors are used to cut branches from the mother plant. These clippings will serve as the base for your new plants, so it is important to invest in scissors that can produce a clean cut. As with any gardening tools, it is important to wash your scissors carefully in scalding water before applying them to your mother plant.
Razor: A razor can be used to prune the branches once they have been harvested and divided up. Technically, you can accomplish the same thing with scissors. Razors, however, are small, making it easier to achieve a close, careful cut.
Seed Starter Tray: Seed starter cells are used to start plants early in the final weeks of winter. They are usually very shallow because they are only meant to host plants briefly. In this case, larger cells may be called for to start your branches off.

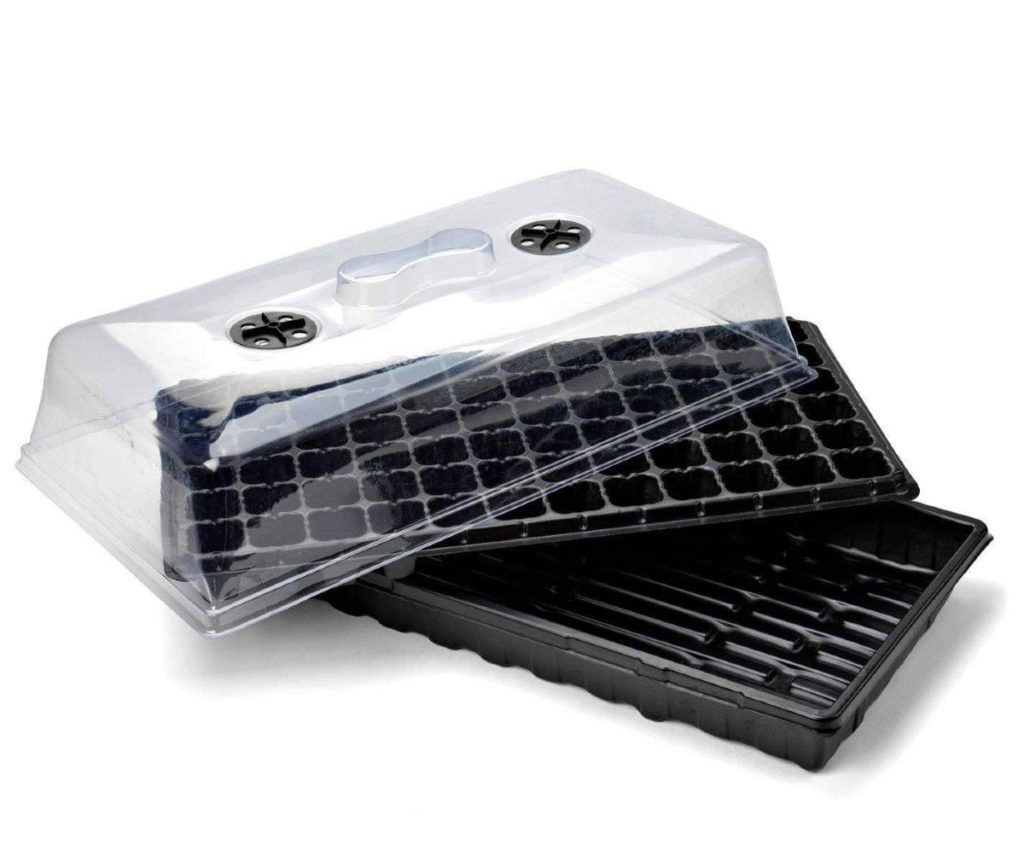
Alternatively, you can use cloning-specific tools like an “auto cloner” or a heating mat. These tools will be harder to find, but they may also be better suited to what you are trying to accomplish.
Rooting Hormone: Rooting hormone increases the odds that your branches will form roots. It is not strictly necessary, as plants may root on their own even without hormones. However, hormones also increase the quality of the roots, making them thicker and stronger than they otherwise would have been.
Most of the supplies listed above can be found at any gardening, hydroponics or hardware store.
How to Clone a Cannabis Plant
For as scientific as cloning sounds, it’s relatively accessible. In this section, we take a look at the steps you need to take to master the art of cutting clones from mother plants and using your weed cuttings for good.
While the steps themselves are easy, attention to detail is paramount. Use high-quality supplies and don’t cut any corners.
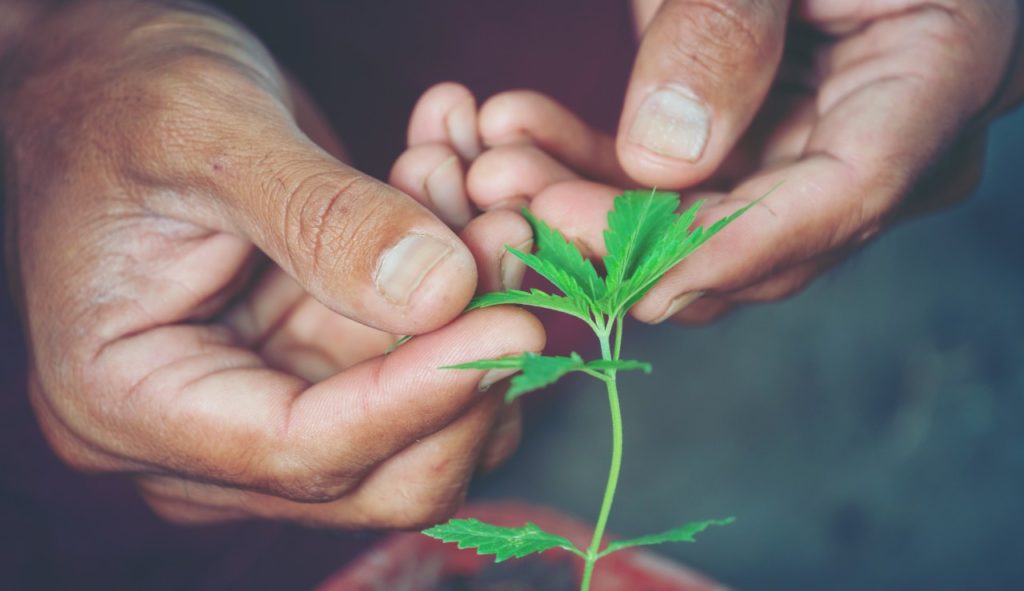
Step 1. Pick Your Plant
Picking the right plant may be the most important step in having a successful cloning experience. Keep in mind that the main reason to clone over starting from seed is predictability. You want to replicate the success you’ve had with an existing harvest.
Good candidates will be high-producing plants with healthy growth rates, attractive foliage, etc. Because your clones will be genetically identical to this plant, you must choose one that is worthy of being reproduced.
Step 2. Wait for Proper Growth
Now it’s time to take a page from Aaron Burr’s book and wait for it. As mentioned previously, five weeks is the best time to harvest branches from your cannabis plant. At five weeks old, your plant is hearty enough to survive the pruning. The branches, meanwhile, will be sturdy enough to handle the transplant and take to rooting.
At five weeks, your plants will not have flowered yet. This might complicate the process of selecting a plant as described in step 1. Note that you can wait until after flowering for cloning if you want to make sure that the plant you pick is a winner.
There are several reasons not to do this. For one thing, it pushes your timeline back by several weeks. It also slows the rooting process and reduces the odds of finding success at all.
If you are experienced enough to want to clone, you are also probably experienced enough to recognize a high-quality five-week-old plant. Use your best judgment.
Step 3: Choose the Right Branch
The ideal branches will be straight. This is for the simple reason that crooked branches will not grow well in starter trays, and may interfere with the growth of their neighbors. They will also be harder to transfer if they do take to cloning.

The branch you select should have three “nodes” elbow-like turns in the branch that denotes growth. The nodes signify a strong, healthy branch that is most likely to survive the transfer.
Step 4: Make Your Cut
Your cut should be 45 degrees (you don’t have to measure but use your best judgment) directly beneath the third node. If leaves are crowding this area, carefully remove them. This will help your plant retain water better. It will also increase the odds of it taking roots.
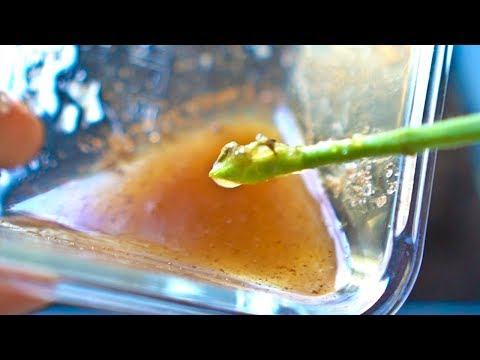
Step 5: Transfer them to Water
As you cut, it’s important to get your trimmings to a clean source of fresh water immediately. A glass or vase that has been sterilized will be appropriate.
Step 6: Rooting Hormone
Once you are ready to transfer your trimmings to the rooting medium, dip the bottoms into a rooting hormone. It’s important that you only get the very bottom as the rooting hormone can potentially damage other areas of the plant.
Step 7: Mist the Roots
You are almost ready to put your clone in its new home. Before you do, get the bottom of your clipping a gentle misting from a spray bottle. Keeping the bottom of the trimming damp right up until the moment it is planted will increase your odds of finding success.
Step 8: “Plant” Them
Now your trimmed plant is ready to go into whatever rooting medium you have selected. During this period, you may keep the harvested branches in conditions similar to how you store your producing cannabis plants.

Good exposure to light is important during this stage. If you are using grow lights already, position clones so that they get approximately 18 hours of exposure every day.
If this is not an option, try to get comparable exposure outside.
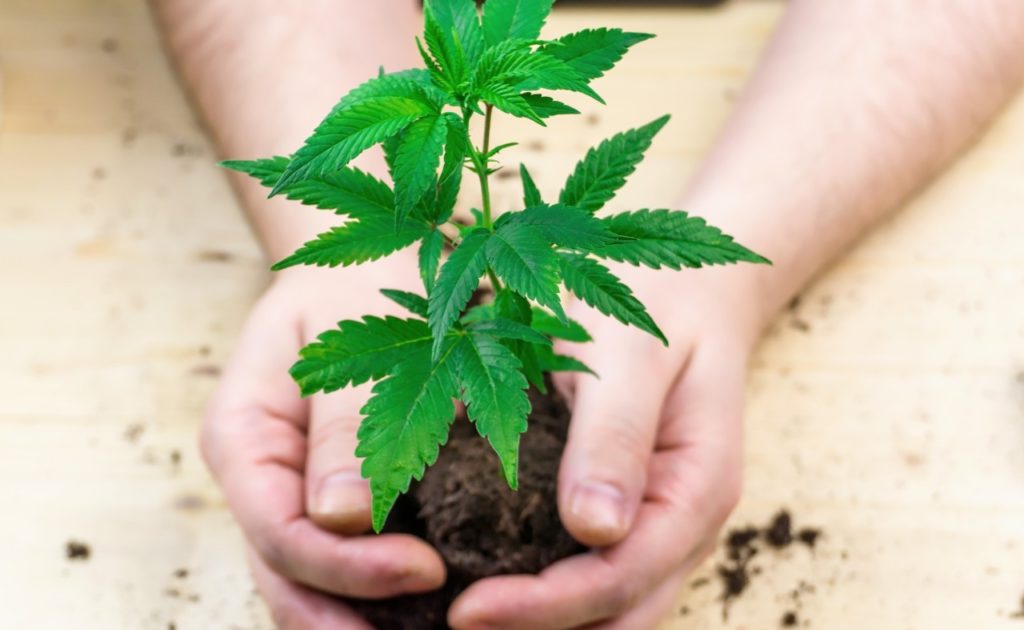
Step 9: Transfer
Transfer your clones to a larger, 1-gallon pot. Ideally, you will be able to use sterilized soil. This growing medium will be more expensive but it will be less likely to include weed seeds (the bad kind of weeds) and fungus.
Alternatively, a combination of potting soil and peat moss may provide a healthy growing medium for this phase. If your branches were grown in a biodegradable rooting medium (such as peat pots) they can be planted directly into the new pot. Otherwise, carefully extract.
Step 10: Water And Wait for Rooting
Now it’s a waiting game. For the next few weeks, water intensely every day. The first week or so will decide if your cloning efforts were a success, so be attentive.
Note: Using high-quality materials is key every step of the way. Sanitize anything that is going to touch the plants with scalding water. Exposure to even small amounts of bacteria can stifle the rooting process.
Cloning Questions
Where to cut clones from?
Clones will ideally be cut at a 45-degree angle from healthy branches of high-quality five-week-old plants. The branches should feature three or more “nodes”.
How big should clones be?
As mentioned above, cloned branches should feature at least three nodes. Because the branches are most likely coming from 5-week-old plants, they will not be massive. However, they should be strong enough to stay upright in your cloning medium.
How to clone weed with rooting hormone?
Rooting hormone is an optional but very helpful tool for getting your plants off to a good start. You can introduce rooting hormone immediately before planting by dipping the end of the trimmed branches into the hormone before planting.
How to clone without cloning gel?
Cloning gel and rooting hormones are not necessary for cloning. Some growers prefer to avoid them, as they can damage other parts of the plant.
To clone without a hormone or gel, simply skip that step as described above. If you are not going to use hormones or gel, it is even more important that you do a great job with all of your other steps.
Rooting Clones Questions:
The rooting process can be unnerving. It takes a lot of effort to clone a plant, and weeks go by before you learn if your efforts were successful. Below we describe everything you need to know about rooting clones.
How long do clones take to grow?
It usually takes clones 3-4 weeks to establish roots.
How to tell if clones are rooting?
The quality of the foliage is the biggest indicator of if your plant is taking to the cloning process. If, after a week, the leaves are still alive and healthy, it means your clone is setting roots. If you are still unsure, you can give the branch a delicate tug. If you feel resistance, that will be the roots.
What to do after clones root?
After clones have rooted they can be transferred to their permanent home. Like any baby plant, they are very vulnerable at this stage. Handle with care.
Can I make a rooting gel at home?
Actually, yes you can. It may take some trial and error, but many people have been successful creating their own rooting hormone or gel for cloning their cannabis. Watch this DIY video to get an idea on what you can do.
Transplanting Clones & Keeping Clone Healthy
Transplanting clones can be unnerving the first time you do it. The process is not very difficult, and quite resembles transferring any young plant into its eventual permanent home. Still, to make sure that your efforts are not wasted, handle them with care.
To keep clones healthy as your transfer them into the growing medium of your choice.
The roots and soil should be kept consistently moist and exposed to 18 hours of light a day. Ideally, the young roots will not be exposed to wind. Indoor growing allows for a highly controlled environment. However, if this is not possible, consider looking for an area in your garden where the breeze will be buffeted by other plants.
After eight weeks, the clone can be treated as an adult plant.
Buying Marijuana Clones 101
Clones can also be purchased directly from some growers. The obvious benefit of this is that you will get to skip all of the steps listed above and get a plant that is, at least ideally, the product of a high-quality mother.
Knowing what to look for in a clone will help you get the most bang for your buck.

Ask About The Mother Plant
The grower isn’t going to say, “Actually, the mother was terrible. One of the worst we’ve ever seen.” They will talk it up because they are trying to make a sale. However, you can at least get a general idea of why the mother plant was chosen. Disease resistance? High yields? Vibrant foliage?
The plant was chosen for a reason. Understanding what that reason was might help you determine how appropriate the clone is for fulfilling your goals.
Know the Grower
Ideally, you will know or at least trust the grower that you are buying from. As this guide has made clear, the process of cultivating clones is very detailed. You should be close enough with the grower to be able to ask them questions and trust that you are receiving honest answers.
How Were the Clones Grown?
Knowing the growing medium is important because clones may not transfer well into a new medium. Explain to the grower what kind of environment you intend to plant the clones in and see what they recommend.
Picking the Best Clones
You can inspect clones for quality much the same way you would any other plant. Inspect the foliage. It should be vibrant and green. You can also investigate the general health of the plant and soil, looking for signs of disease (we will look at that more in the next heading).
You can’t know how productive a clone will be just by looking at it but use your best judgment. This isn’t the time to invest in a Charlie Brown Christmas tree.
Looking for Diseases
Realistically, there is no such thing as a pest or disease-free growing environment. However, good growing practices can significantly reduce the effects of disease and pests. If you trust the source, ask them what sort of disease and pests they have encountered in their grow rooms.
You should also inspect the plants yourself. Mites are manageable. Mold and mildew is a pass.